
Research
8 min reading
How to Edit a Transcript : Manual & Automatic Ways
You want to know how to edit a transcription with a transcription editor ? Here's your guide.
You’ve got a raw transcript—filled with filler words, misheard names, and unclear speaker turns. It’s messy, unstructured, and hard to use.
Editing it shouldn’t take hours.
In this article, you’ll learn how to edit transcripts manually with clarity and use tools to save time without sacrificing accuracy
How to Edit Transcripts Manually: Best Practices

Editing a transcript manually can feel tedious—but it’s also where the magic happens. This is where you turn a rough auto-generated draft into something clear, accurate, and actually useful.
Here’s how to do it right, step by step.
Start With Active Listening
Before making changes, listen to the full recording once—without editing.
This helps you understand the tone, the context, and how each speaker communicates. It gives you a feel for the pacing and any jargon used. You’ll spot patterns, like repeated questions or moments where speakers talk over each other.
Choose the Right Style: Verbatim or Clean
Decide how close you want the transcript to be to the original speech.
- Verbatim means you capture every word, filler, pause, and false start. It’s great for legal transcripts, research interviews, or compliance work.
- Clean transcription skips the “uhs,” “likes,” and repeated phrases. It reads more smoothly, which makes it ideal for business notes, client updates, or blog content.
Pick one and stick with it to stay consistent.
Label Speakers Clearly
In a multi-speaker meeting or interview, it’s crucial to label each voice.
Use names if available (e.g., [Anna], [James]). If not, use clear tags like [Interviewer] and [Candidate].
Keep formatting simple and repeat labels consistently. This helps readers follow the flow, especially in long transcripts.
Insert Timestamps Strategically
Timestamps aren’t just for show—they make your transcript easier to navigate.
Place them:
- At the beginning of each speaker turn (optional for short meetings)
- Every 30 seconds to 1 minute in longer recordings
- At key moments, like when a decision is made or a new topic starts
Example:
[00:14:30 - Anna] “Let’s move to the next phase of the project…”
Edit for Clarity, Not Perfection
Spoken language isn’t always clean. People talk in fragments, overlap, or go off track.
Your job isn’t to fix what was said—it’s to make it clear.
Break up run-on sentences. Add punctuation. Use line breaks to separate ideas.
Proofread in Multiple Passes
Don’t try to fix everything in one go. Do it in layers:
- First pass: Fix obvious typos and speaker labels.
- Second pass: Clean up formatting and grammar.
- Final pass: Read it aloud. If something sounds confusing, rewrite it for clarity.
How to Edit Transcriptions Automatically
When time is tight, or you’re handling a high volume of calls and meetings, automation can help you get accurate, polished transcripts with far less effort.
Here’s how to edit transcripts automatically.
Step 1: Start With a High-Quality Auto-Transcription Tool
Not all transcription tools are built the same. Some tools give you a basic transcript with lots of errors. Others—like Noota—use advanced AI to produce clean, accurate drafts that need minimal fixing.
The better the tool, the less editing you’ll have to do later. So start with the best input possible.
Step 2: Use Smart Cleanup Options
Look for built-in editing tools. Most professional transcription platforms offer features like:
- Filler word removal: Automatically delete "uh," "um," "like," and other clutter.
- Auto punctuation: Adds periods, commas, and question marks for better readability.
- Speaker separation: Labels who’s speaking without manual tagging.
- Noise detection: Flags unclear sections so you can quickly review them.
These settings help you clean up transcripts instantly—no need to do it line by line.
Step 3: Customize the Output
Some tools let you adjust how transcripts are structured. That’s key if you’re using the content for reports, interviews, or marketing materials.
Customize:
- Tone – Keep it formal or conversational, depending on your audience.
- Focus – Highlight certain keywords or topics (great for client calls or interviews).
- Format – Break text into digestible sections or bullet points.
Step 4: Scan and Approve
Even with automation, always review the transcript before sharing it. Skim through the AI-generated text. Fix names, correct any missed context, and double-check quotes.
Think of it like reviewing a draft someone else wrote—you’re polishing, not rewriting.
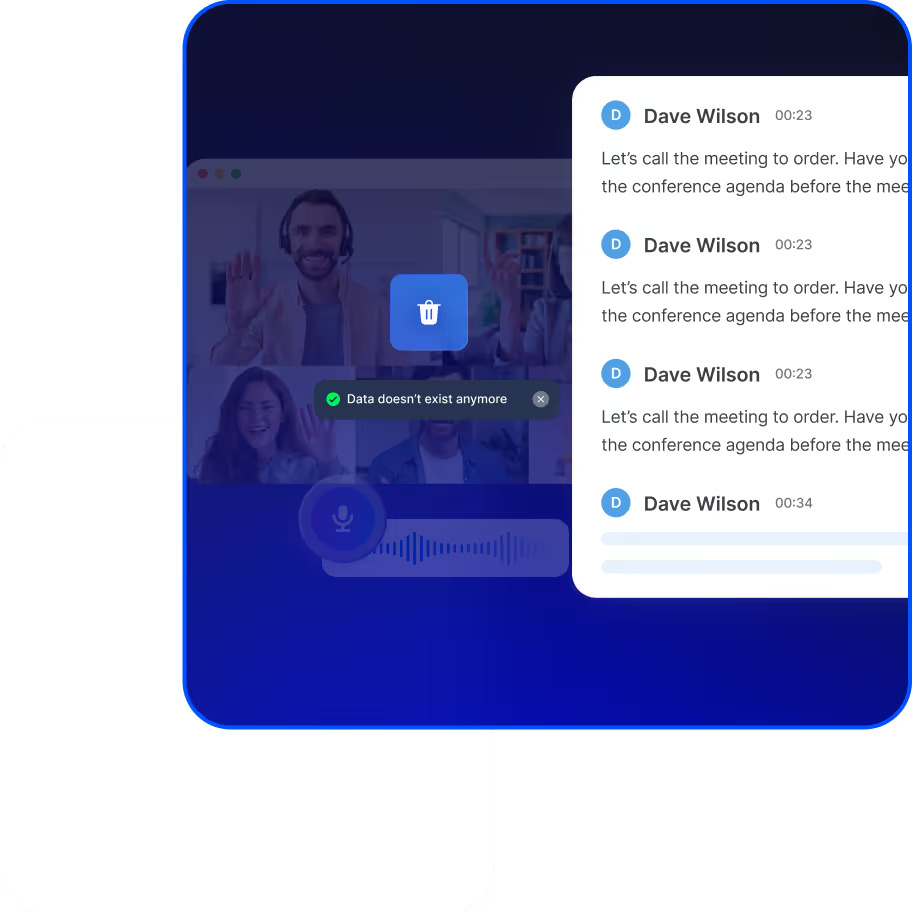
Best Transcription Editors
Not all transcription editors are created equal. Some tools give you basic text with no structure. Others offer full control—letting you edit, organize, and collaborate without friction.
Here are some of the best transcription editors out there :
1. Noota – Built for Speed, Accuracy, and Collaboration
.png)
If you work in recruiting, sales, research, or content creation, Noota gives you everything you need in one place.
Here’s what makes it different:
- Customizable Transcription : Need to adjust tone or structure? Noota lets you tailor your transcript. Focus on specific topics, include keywords, or structure it to match a reporting format. Whether you're prepping for a client meeting or publishing an interview, Noota adapts to your workflow.
- Speaker Identification : Noota automatically detects and labels each speaker. This is crucial when reviewing interviews, roundtable discussions, or hiring panels. You’ll never lose track of who said what.
- Real-Time Editing : You can edit the transcript as it’s being generated. Correct names, rephrase unclear sections, or add context—all without leaving the interface.
- Collaboration Features :Working in a team? Share transcripts directly with colleagues. They can review, comment, or make changes. Perfect for team-based projects, group interviews, or internal reviews.
- Smart Summaries : After editing, Noota can automatically generate a summary of the conversation—highlighting decisions, action items, and insights. No more writing follow-up notes manually.
2. Otter.ai – Great for Meetings and Notes
Otter is a popular choice for teams that need real-time transcriptions during meetings.
- Live transcription: Follow the conversation in real time.
- Speaker recognition: Automatically assigns names (after training).
- Basic editing: Make quick changes, highlight text, and add comments.
- Integration: Works with Zoom, Google Meet, and other tools.
3. Descript – Ideal for Audio & Video Creators
If you work with podcasts or video content, Descript is worth a look.
- Edit audio by editing text: Delete a sentence in the transcript, and it’s gone from the audio too.
- Multi-track speaker editing: Great for interviews and panel discussions.
- Screen recording and video editing: Create full content workflows from one platform.
4. Rev – Human-Level Accuracy (for a Price)
Rev offers manual transcription services along with an AI editor.
- Human transcription: Highly accurate, but more expensive and slower.
- Online editor: Lets you review and correct transcripts quickly.
- Simple interface: Best for one-off projects or legal use.
Want to automate your transcription process ? Try Noota for free now.
