.png)
.svg)
.svg)
.svg)
Taking notes during your Zoom meeting can be challenging, especially when you're trying to participate in the discussion.
This is where Zoom auto transcription comes in.
This article will talk about how to transcribe Zoom meetings, including the tools and methods you can use.
Can You Transcribe a Zoom Meeting?
Yes, you can transcribe a Zoom meeting, and it's more straightforward than you might expect.
Zoom provides built-in transcription features, and there are several third-party tools that can enhance your experience if you need something more advanced.
Your choice will depend on the level of accuracy and functionality you need for your team.
Who Can Transcribe a Zoom Meeting?
Wondering who can transcribe a Zoom meeting? It all comes down to the type of Zoom license you have and the settings set by the host. Here’s a clear breakdown to help you understand your options.
1. Host's Role in Transcription
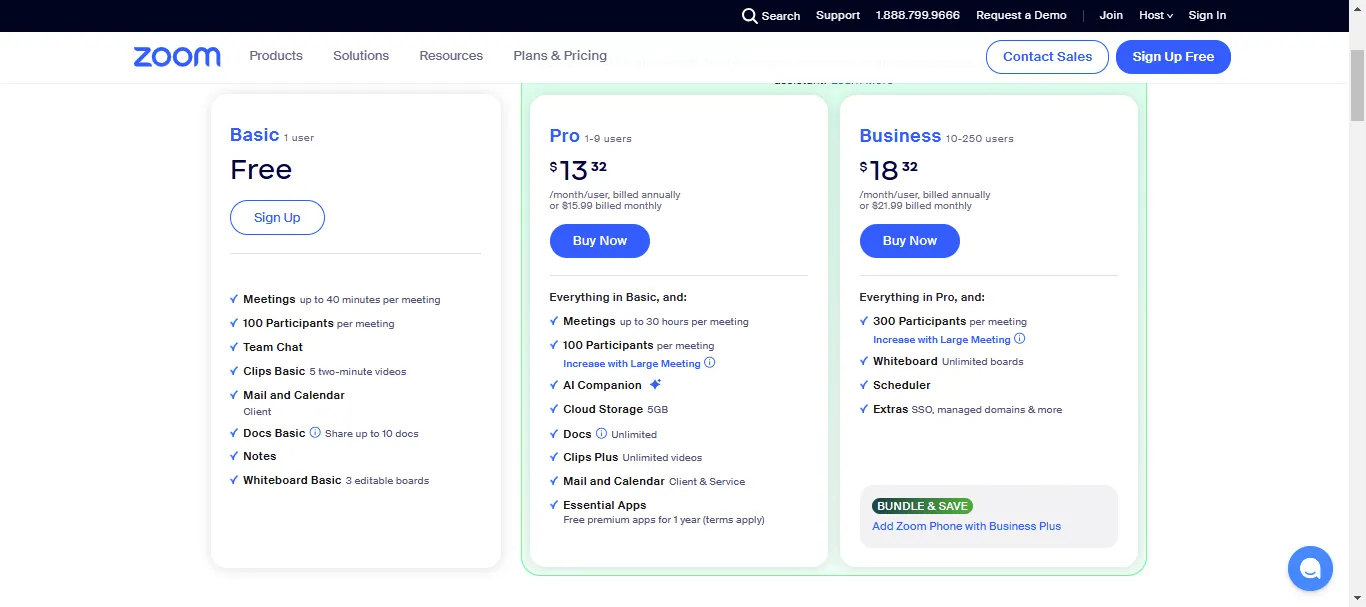
If you're the host, you can use Zoom's automatic transcription feature, but only if you have a Business, Education, or Enterprise license. If you're using a free Zoom account, this feature isn't available. To transcribe videos, the host should also enable Cloud Recording and Audio Transcription features.
PS: If you meet all the requirements but still don’t see the transcription option, you can submit a request to Zoom Support, and they will enable this feature for you.
2. Participants' Role in Transcription
Participants can’t create their own transcripts, but they can see live transcriptions if the host enables the live transcription feature.
Best Practices for Zoom Audio Transcription
If you want accurate transcriptions of your Zoom meetings, it’s not just about hitting record and hoping for the best. By following some best practices, you can significantly improve the quality and usability of your transcripts. Here’s what you should keep in mind:
- Minimize Background Noise: Keep background noise to a minimum. Close doors, turn off noisy appliances, and ensure that participants mute themselves when not speaking.
- Speak Clearly and Avoid Distractions: Ask participants to speak directly into the microphone, and make sure they avoid shuffling papers, typing loudly, or having side conversations during the meeting.
- Position the Microphone Properly: Place the microphone near the active speakers, especially in meetings where multiple people are sharing a dial-in.
- Use an External Microphone: Built-in microphones often pick up unnecessary noise and may not be sensitive enough to capture everyone’s voice clearly. An external microphone is a simple upgrade that can significantly improve transcription quality.
How to Transcribe a Zoom Meeting
Transcribing a Zoom meeting can be done in a few different ways, depending on the level of detail and accuracy you need. Whether you’re using Zoom's built-in features or opting for third-party tools, the process is quite simple. Here’s how you can do it:
Using Zoom's Built-in Transcription
To use Zoom’s built-in transcription feature, start by enabling cloud recording in your Zoom settings. This feature allows Zoom to record your meeting and automatically generate a transcript afterward. Here’s how you can do it step-by-step:
Enable Cloud Recording and Automated Transcription:
- Sign In to Zoom: Go to the Zoom web portal (https://zoom.us/account/setting) and log in.
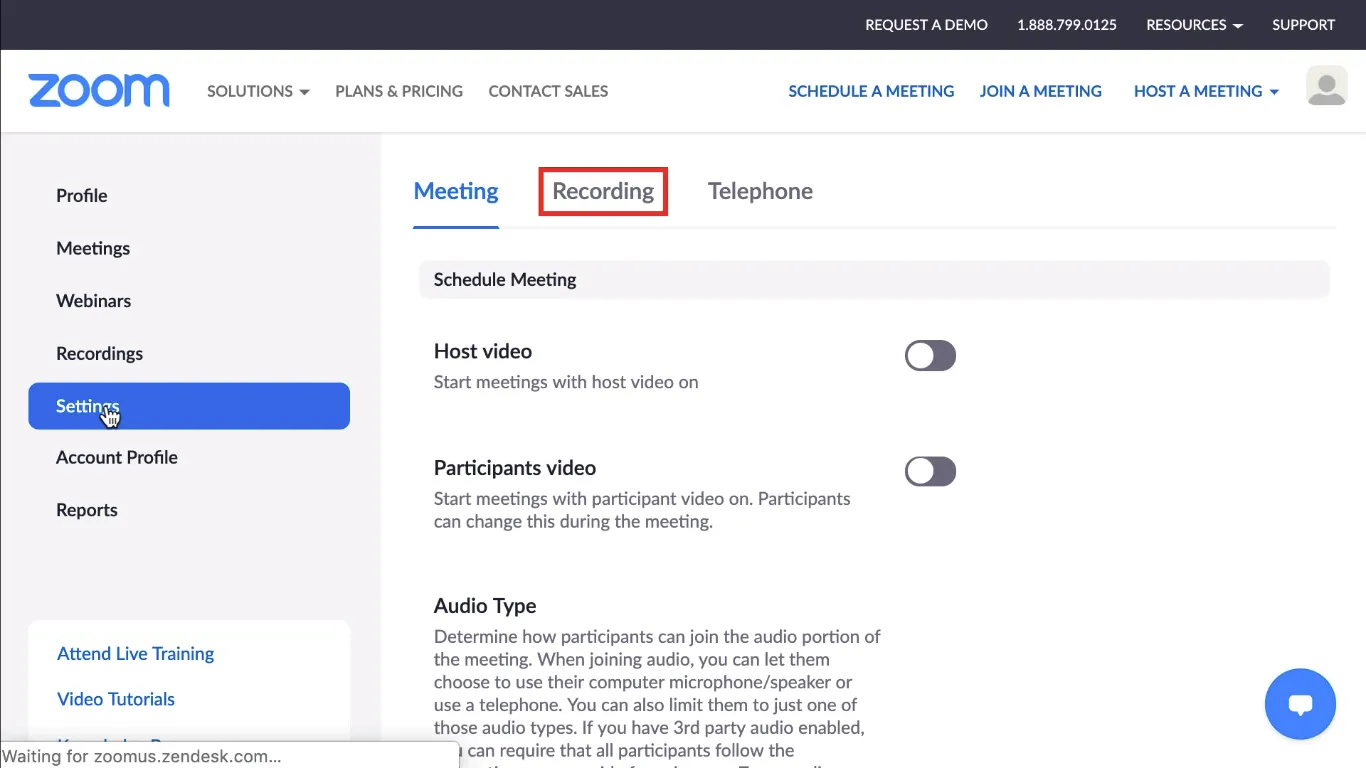
- Navigate to Settings: Once logged in, go to the "Settings" page and find the “Recording” tab.
- Enable Cloud Recording: Make sure cloud recording is turned on. Only cloud recordings can be transcribed.
- Enable Automated Captions: Search for "Automated Captions" in the settings and toggle it on. This feature allows Zoom to generate both closed captions and an audio transcript.
- Enable Save Captions: Enable the "Save Captions" option to ensure that captions and transcripts are saved with your cloud recordings.
- Start the Recording During the Meeting: Once the meeting starts, click the “Record to the Cloud” button. It’s important to let everyone know they’re being recorded to maintain transparency and compliance.
Access the Transcript After the Meeting:
- Once the meeting ends, Zoom will take some time to process the recording and generate the transcript. You will receive an email notification when your cloud recording and transcript are ready.
- Download and Review: The email will include links to view your recordings or audio transcript. Be aware that the transcript may take additional time to process. Once available, you can download and review it for accuracy, making any necessary corrections.
Using Third-Party Tools for Transcribing Zoom Meetings
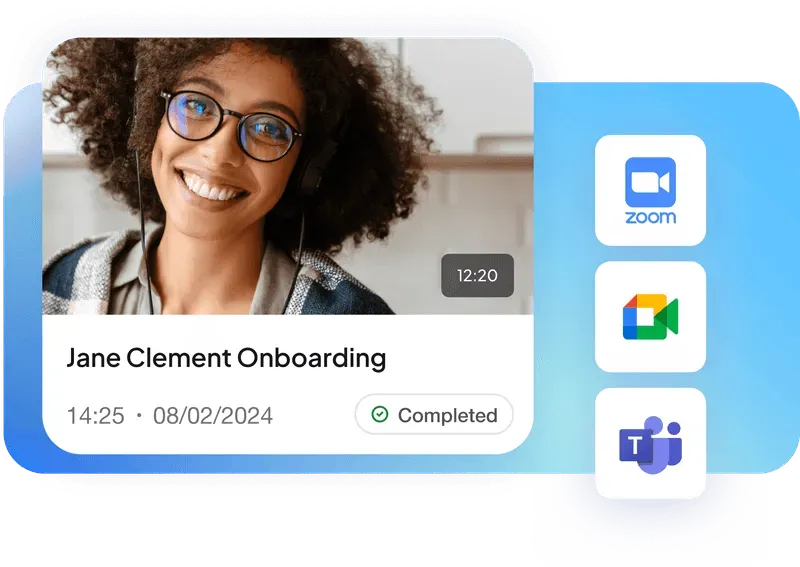
For more advanced transcription needs, third-party tools are often a better choice. Integrating tools like Noota, Otter.ai, or Descript with Zoom can offer improved accuracy, real-time transcription, and additional features like editing and multiple language support.
Here’s a brief description of tools widely used for transcribing Zoom meetings.
- Noota: Noota integrates with Zoom and provides real-time transcription in multiple languages. This is particularly useful if you need to share important points during the meeting itself or if you have international participants who might prefer text over audio.
- Otter.ai: Otter.ai is another great option for live transcription. It offers features like keyword highlights and speaker identification, which can help you quickly navigate through long meetings.
- Descript: Descript offers powerful editing capabilities, allowing you to correct inaccuracies and even remove filler words directly from the text. It’s an excellent choice if you plan to use the transcript for public documentation or need a polished final version.
Transcription and Minutes in Zoom: Noota
Recording your Zoom meetings is just the start. The true advantage is when you convert those recordings into actionable, searchable text. Noota simplifies this process, helping you and your team stay organized and focused.
- Real-Time Transcriptions: Get instant transcription during your Zoom meetings, so you can keep track of important details as they happen. Perfect for fast-paced discussions.
- Effortless Sharing: Once your meeting is transcribed, easily share the content with your team to ensure everyone stays informed—even if they couldn't attend.
- Meeting Summaries: Generate concise, customizable meeting summaries that highlight key points and action items, so you can focus on what matters without sifting through hours of content.
- Highlight Key Moments: Highlight important parts of the transcript, such as decisions and action items, making it easy to revisit critical moments later.
- Seamless Integration: Noota integrates with popular tools like Slack, Trello, and Google Drive, allowing you to streamline workflows and keep everything in sync.
Want to turn your Zoom meetings into actionable, well-documented resources? Try Noota for free now.
FAQs
How can I share a Zoom meeting transcript with attendees?
You can share a transcript directly from the Zoom cloud portal if you used their transcription service, or download and send it via email or other collaboration tools.
Is it possible to edit the transcription after the meeting ends?
Yes, after the transcription is generated, you can edit it to correct any errors or adjust details for clarity.
Can I use transcription tools for multilingual meetings?
Yes, many third-party tools support multiple languages for real-time transcription, which is especially useful for meetings involving participants from different linguistic backgrounds.
How secure are my transcriptions when using Noota?
Noota prioritizes data security with strong encryption, ensuring that your transcriptions are kept safe and confidential.
Can I edit the transcriptions generated by Noota?
Absolutely. Noota allows you to easily edit your transcriptions to ensure they are perfectly accurate before sharing them.
Does Noota offer speaker identification in Zoom transcriptions?
Yes, Noota includes speaker identification, which helps you easily distinguish who said what during your meetings.
.webp)

.svg)
